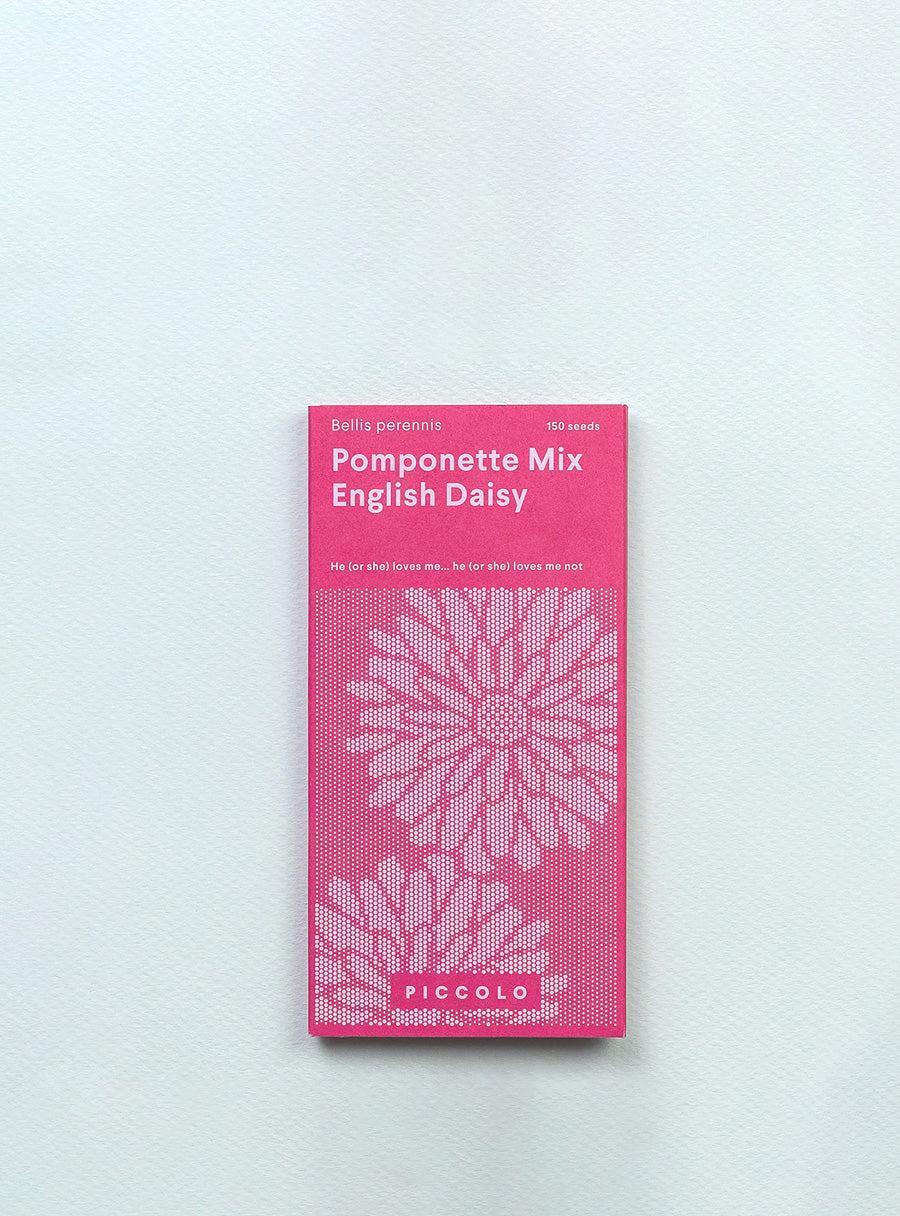
Botanical Art & Craft
Botanical cyanotypes: making your first prints
You admire Anna Atkins‘ cyanotypes and you want to make some yourself.
Here is the method to make your own cyanotypes at home by following the steps in this practical guide.
What is a cyanotype?
Cyanotype is a photographic process invented in the 19th century. It allows the creation of unique prints without a camera, using sunlight.
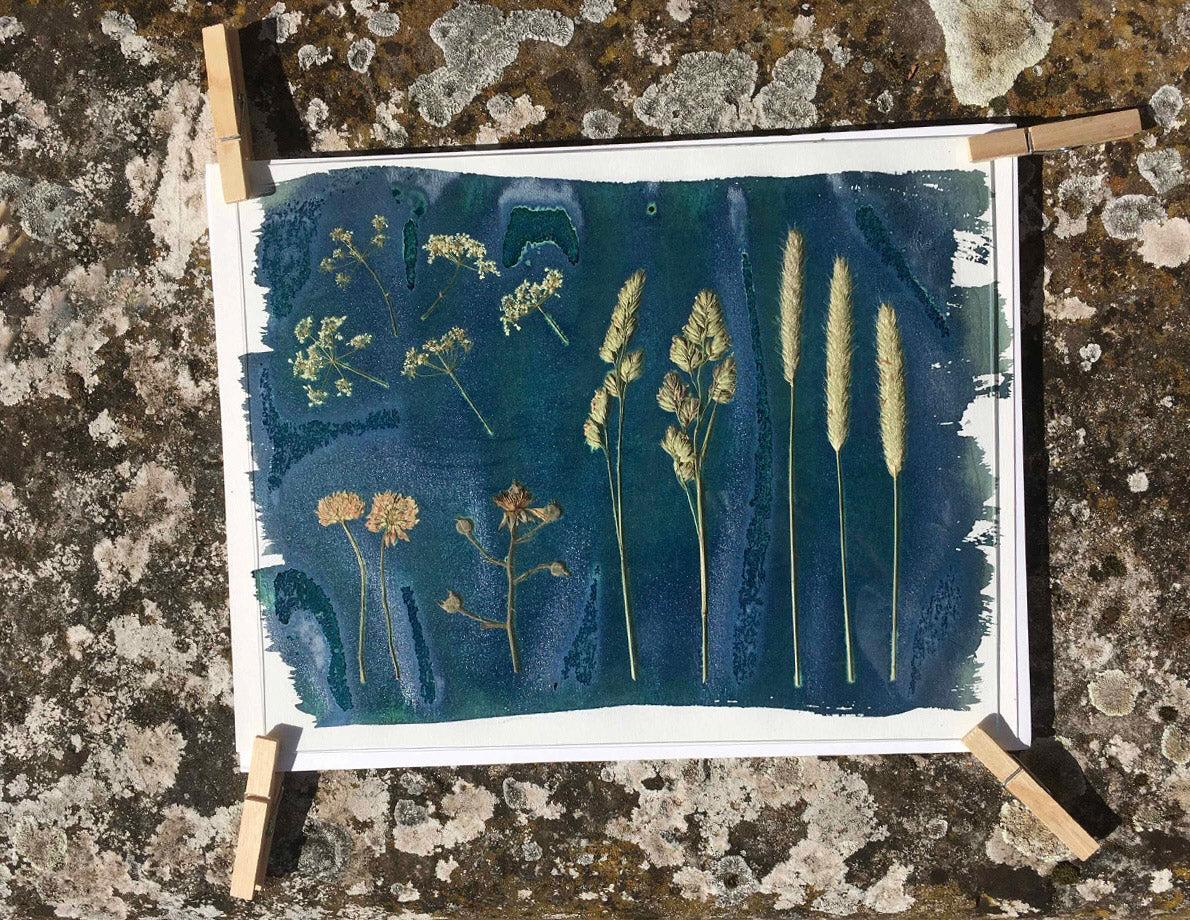
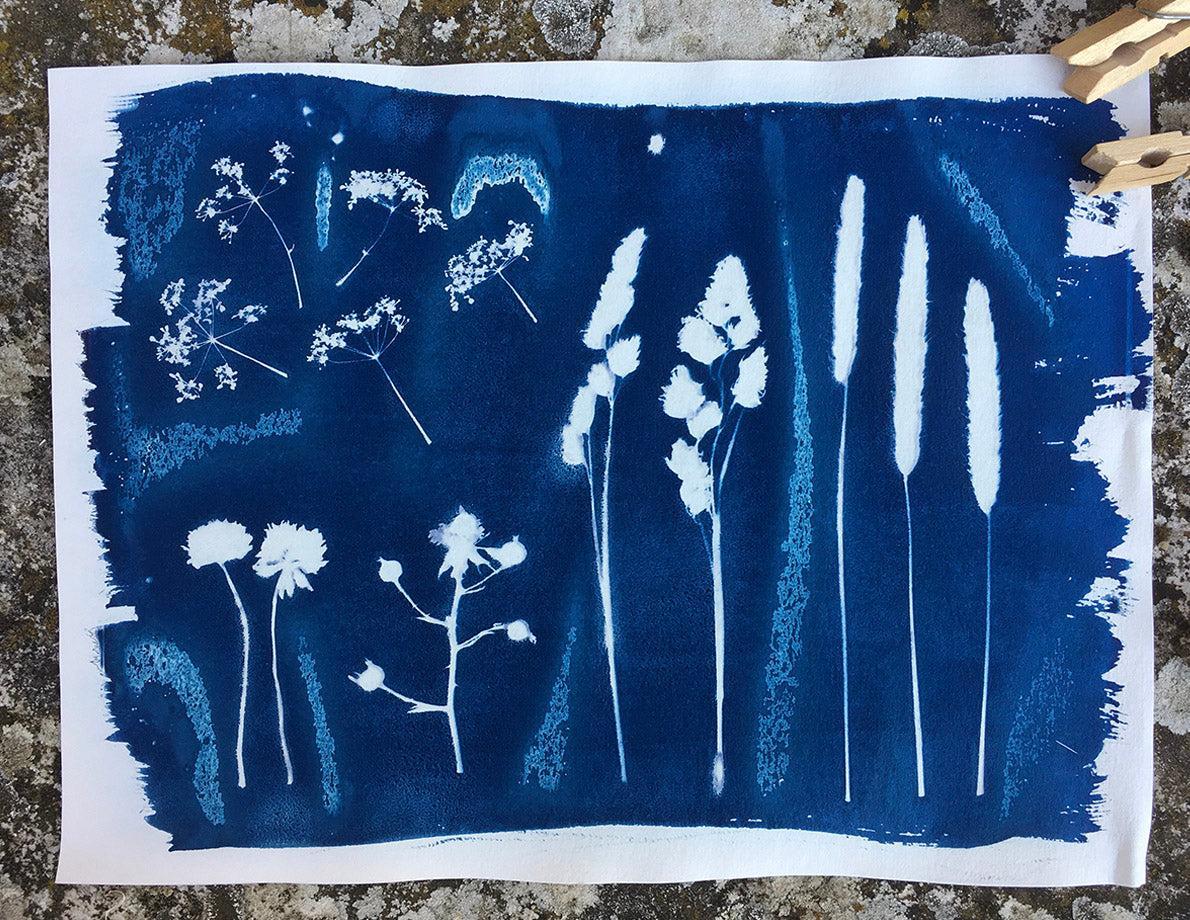
A specimen – object, plant – is placed on a sheet of paper coated with a photosensitive solution and exposed to sunlight. The result after rinsing with water? A negative print.
The elements arranged on the sheet stand out in white against a deep blue background, known as Prussian blue.
Materials needed to create a cyanotype:
To get started, here is a list of the equipment you will need:
- thick paper , capable of withstanding rinsing with water
- a mixing kit for photosensitive solution (ferric ammonium citrate and potassium ferricyanide)
- a wide brush to apply the solution evenly to the paper and a glass jar, like a jam jar
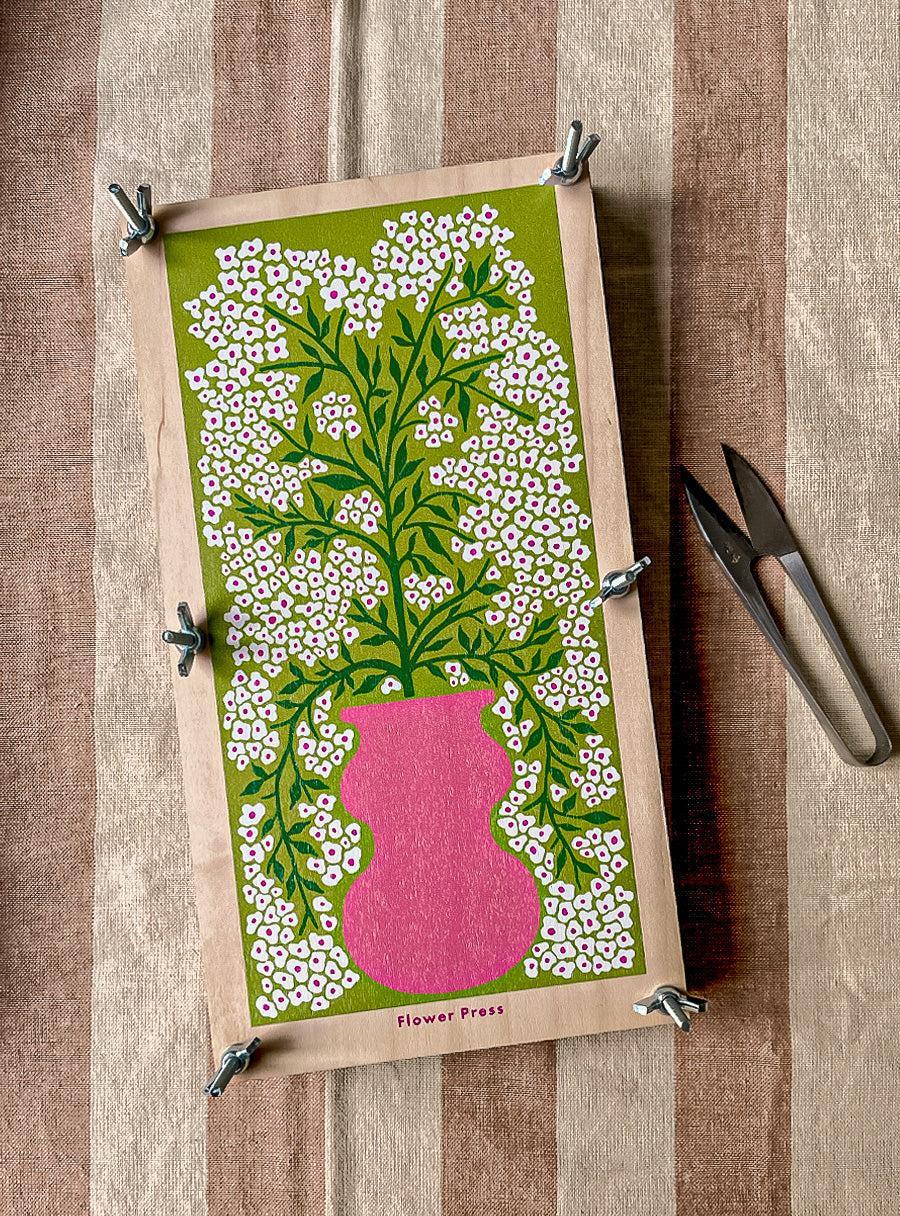
- a glass or plexiglass panel to hold the plants in place during the exhibition
- clothespins and a rigid support to stabilize the different layers when exposed to the sun
and of course,
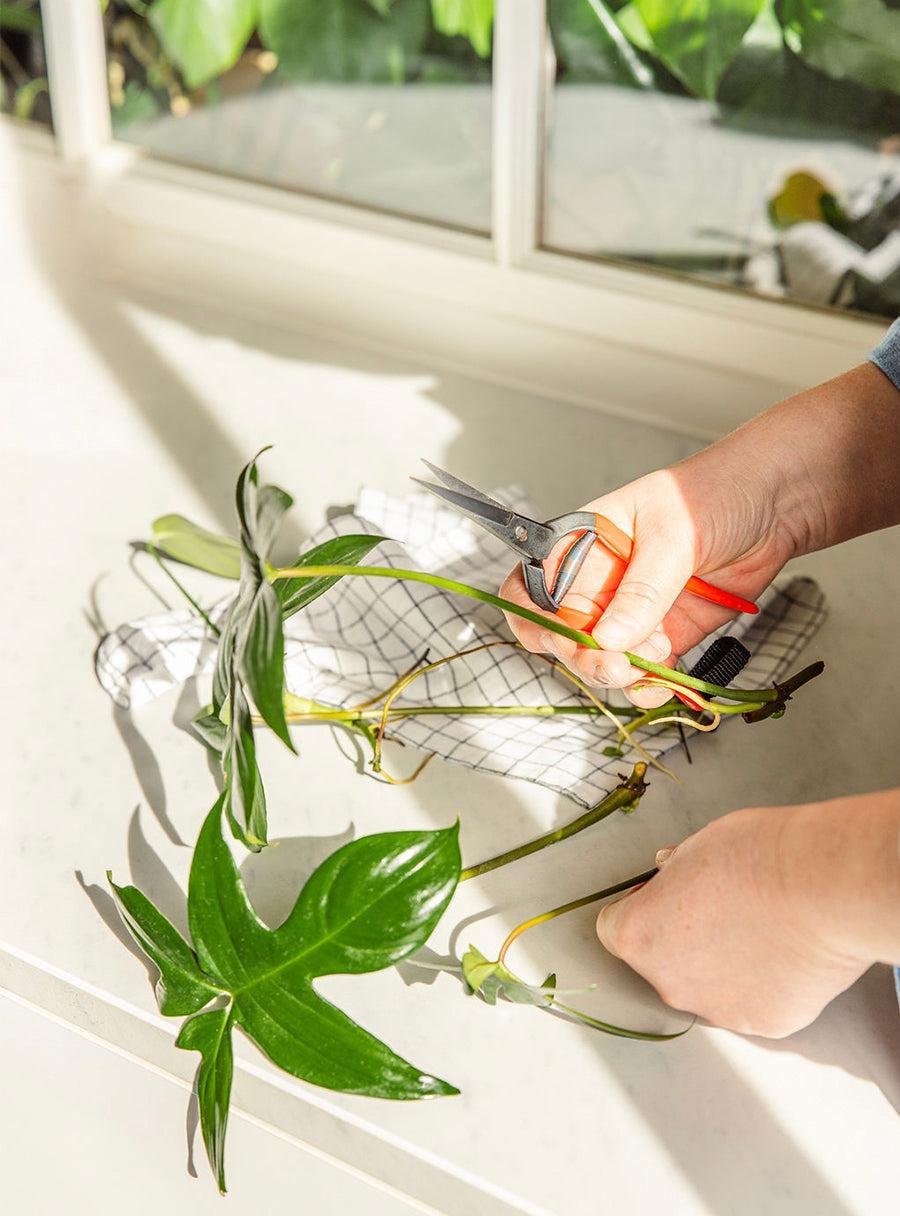
- Plants : flowers, leaves or any plant element that you wish to immortalize
Tip : you will find on the eshop a kit with all the necessary equipment , including the mixing kit for photosensitive solution, to create your cyanotypes (without the plants).
How to create a botanical cyanotype? Detailed steps:
1. Preparing the support
In the darkest room possible:
- Prepare the photosensitive solution: add water to each bottle (the one with the ferric ammonium citrate powder and the one with the potassium ferricyanide) to create a solution. Shake each bottle well to ensure the powders are dissolved. Pour the same proportion of each solution into the glass jar and mix them together.
- Dip the brush in the solution and apply it to your paper, ensuring an even distribution.
- Cover the paper to keep it in the dark and allow it to dry completely (for example, you can leave it to dry in a cardboard box).
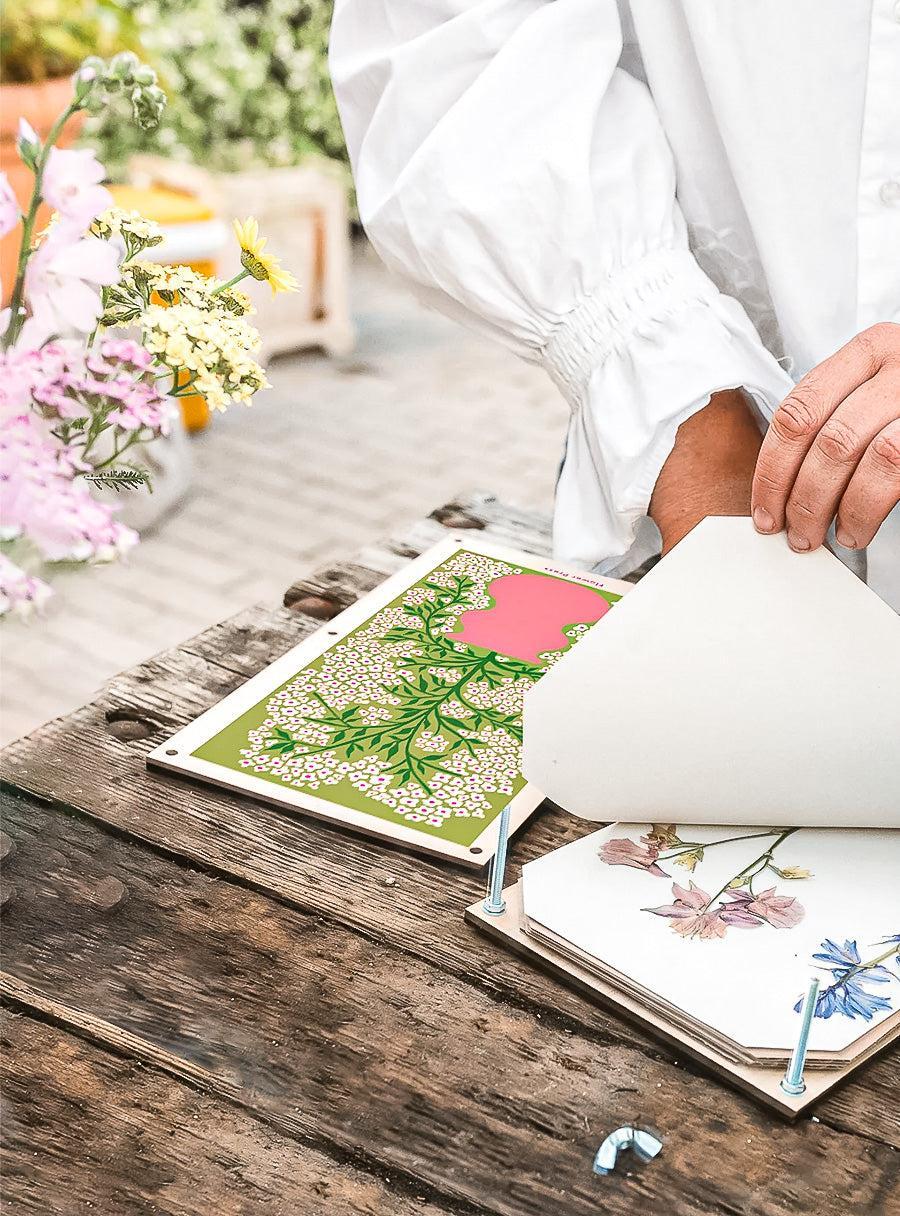
2. Composition of your botanical image
- When the paper is dry, place it on a rigid support , such as a cardboard sheet.
- Arrange your plants carefully on the sheet
- Cover your composition with the glass or plexiglass panel.
- Hold the different layers together tightly (cardboard, paper, plants, glass panel) using clothespins.
3. Sun exposure
- Place your composition in direct sunlight for 5 to 20 minutes, depending on the light intensity. The stronger the light, the shorter the exposure should be.
4. Development of the cyanotype
- Once the exposure time is up, when the paper turns a grey-brown, lift the glass frame, remove the plants, and rinse the sheet under cold tap water (or immerse it in a container of water) to reveal the characteristic blue of the print. Then, let the sheet air dry.

Unleash your creativity and create unique works of art.
Botanical Craft